I was so full of helpful tips are shared, I do not even know where to begin to learn that first. Therefore, I would choose the tips that must be noted when using the new iTunes 11.
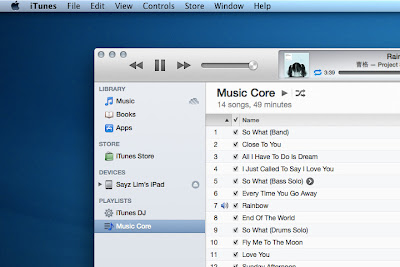
Bring up the Sidebar

Sidebar is a relic of the iTunes 10 and prior to abandonment (also called relics). If you still want the sidebar back in iTunes 11, then do I just press Command + Option + S or choose View> Show Sidebar from the menu bar.
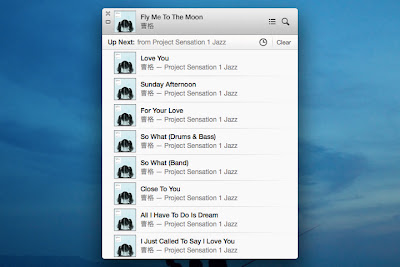
Bring up MiniPlayer

There are 2 ways to bring MiniPlayer:
The first is to change the look of iTunes into MiniPlayer by selecting the button in the upper right (Command + Option + M).
The second is to raise MiniPlayer alongside iTunes by selecting Window> MiniPlayer or press (Command + Option +3).
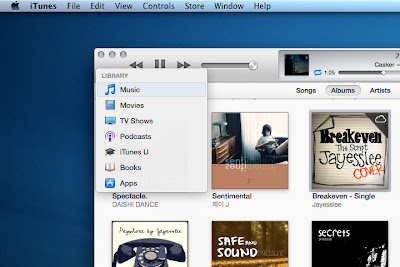
Switching Between Media

Without enable the sidebar, switching between media will require a lot of clicks. Therefore, the iTunes 11 provides a shortcut to switch between media that is Command + [1-7] in the following order: Music, Movies, TV Shows, Podcasts, iTunes U, Books, and Apps.
Controlling Songs By Up Next
Up Next allows you to add songs to the play list without overwriting the songs being played. Say youre playing the playlist Classical, and suddenly want to listen to another song. Simply add the songs to Up Next and when they finish playing, Classical playlist will play again.

You can bring up Next by pressing Command + Option + U either in iTunes or in a state MiniPlayer. Then, to add songs to Up Next in several ways, namely:
- Drag and Drop one or more songs to the panel Up Next at the top center.
- Through action arrow and select Play Next or Add to Up Next. You can also choose the plus button that can be displayed by holding Option.
- Use a shortcut to add songs to the list. Select the desired song from the list and press Option + Return.
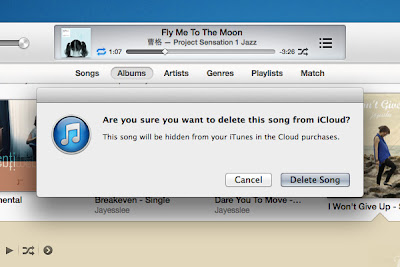
Hiding Media iCloud

If you are shopping at the iTunes Store, especially those abroad, the iTunes library you must be filled with songs iCloud. All that can be downloaded or played directly from within iTunes. What about the song that does not want to appear? You hide them.
- The simplest way is to hide everything after you download the songs you want. Choose View> Hide Music in the Cloud.
- Another way is to hide the songs one by one. This step is useful if you want to retain some of the songs in the library but do not want to download it. Choose a song that has the symbol of the clouds, and then delete to hide it from the libray.
Such tips that need to be mastered to start using iTunes 11. And the last trick that I often use is Command + L to move to the song being played. Please try.


